WATERWORLD
WTW: Pioneer and Number 1 in Analytical Quality Assurance (AQA)
Already since 1997, WTW has been integrating a multilevel AQA support into their laboratory photometers - and thus became a pioneer for an extensive quality assurance of measuring results
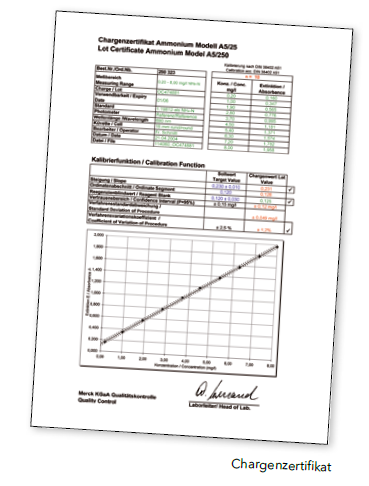
What does a lot certificate express?
There are many lot certificates, but only very few of them are as expressive as the lot certificates for the test sets offered by WTW! They include information about the per-missible tolerance range, the confidence range of the measurement and they assure the continuous and con-stant quality of the test sets. These lot certificates are issued for every newly produced lot after a thorough inspection.
Looking at the lot certificate will also help you evaluate your measurements, because especially at the measuring range limits, the permissible tolerances are often exhausted and sometimes exceeded. Here, you can tell by the data, such as the confidence range, whether the meas-uring result (barely) should be used or not: Switching to a test with a more suitable measuring range can make sense and might save costs!
Should I always use test sets with lot certificates?
It is often sufficient to use test sets for tasks in the areas of field monitoring or routine monitoring that are not subject to such a strict quality control. The advantage of these test sets lies in their cost-efficiency ratio, especially if the abso-lute measurement accuracy is not a priority. However, it always remains in the tolerance range of the self-control regulation!

For this, WTW offers their alternative cost-efficient test sets in cuvettes as well as the handy and packaging-friendly powder tests in addition to their highly precise cuvette tests with barcode and lot certificate.
What else does WTW provide to verify results?
- PhotoCheck: Extensive device check
Zero line and device test on 3 wavelengths with 4 points; this will ensure the device‘s functionality as well as its photometric accuracy within the wavelengths.
- PipeCheck: because a defective pipette might cost a lot of money!
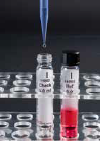
Only correct pipetting will ensure correct measuring results! The PipeCheck can be used to check the com-monly used volumes conveniently: adjust volume, pipette into test cuvette and measure against the included reference cuvette. The measuring results are documented on a control card. PipeCheck contains 24 test cuvettes and 4 reference cuvettes.


Here you can download the whole article as a PDF:
